1/7/09
I gave the MEN information to a couple of guys at work. We have an endless supply of used oil so why not make it happen. One of the guys has finished his unit. He did a 5 hour test run with a chimney sticking out the side door of his garage. It was 20 deg out and about 75 deg in the garage. His unit did not use the conical burner; he used a stamped metal pan. He also used a 4 inch computer fan to blow in the air tube. Over the five hours it used 2 gallons of oil. His tank is located above his heater off to the side. It is also attached to the heater. It also uses a simple needle valve for oil control. During the visit he never adjusted the oil flow.
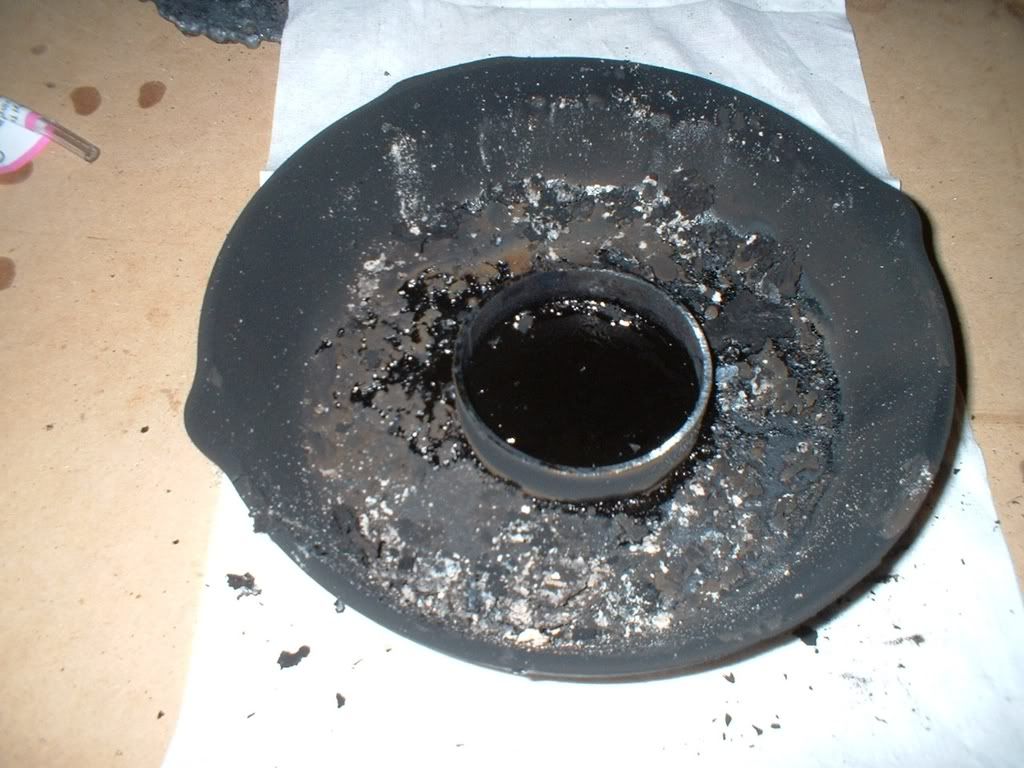
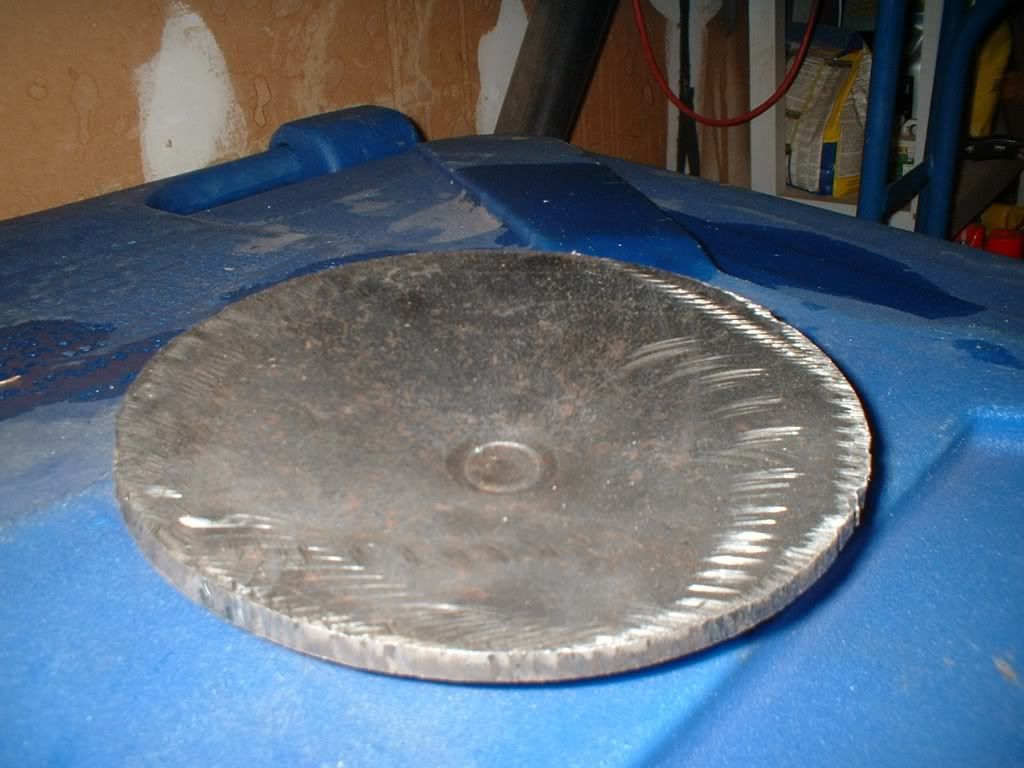
I have started mine. I will be using a conical burner. I have pressed it from 1/4 steel. If it does not heat up enough during start up then I will go through the hassle and make one from aluminum. Tonight I stripped the hot water heater and cut a door in it. Then I noticed that I only have a 3 inch draft tube. Since Roger Sanders reduces his to 2 inch to slow velocity I will leave it alone. I will test it this way and if needed will still reduce it or weld in a 4 inch tube. I will also mount my tank similar to the unit my buddy made. I am hopping to have it finished by next week.
I intend to show pics as I progress.
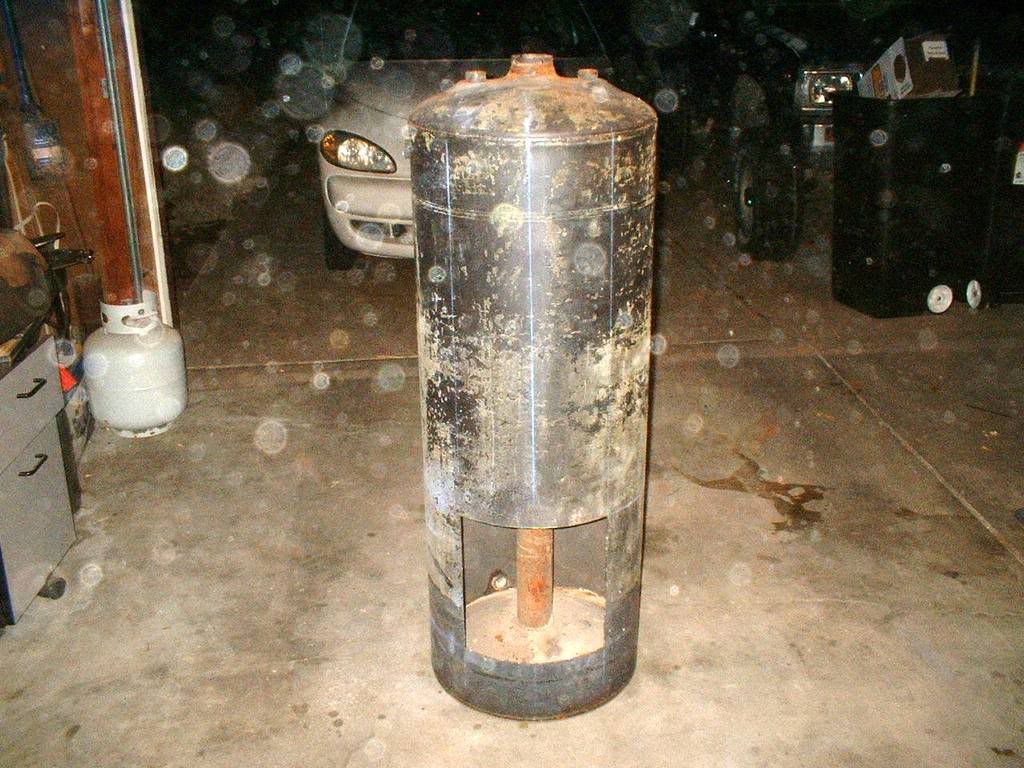
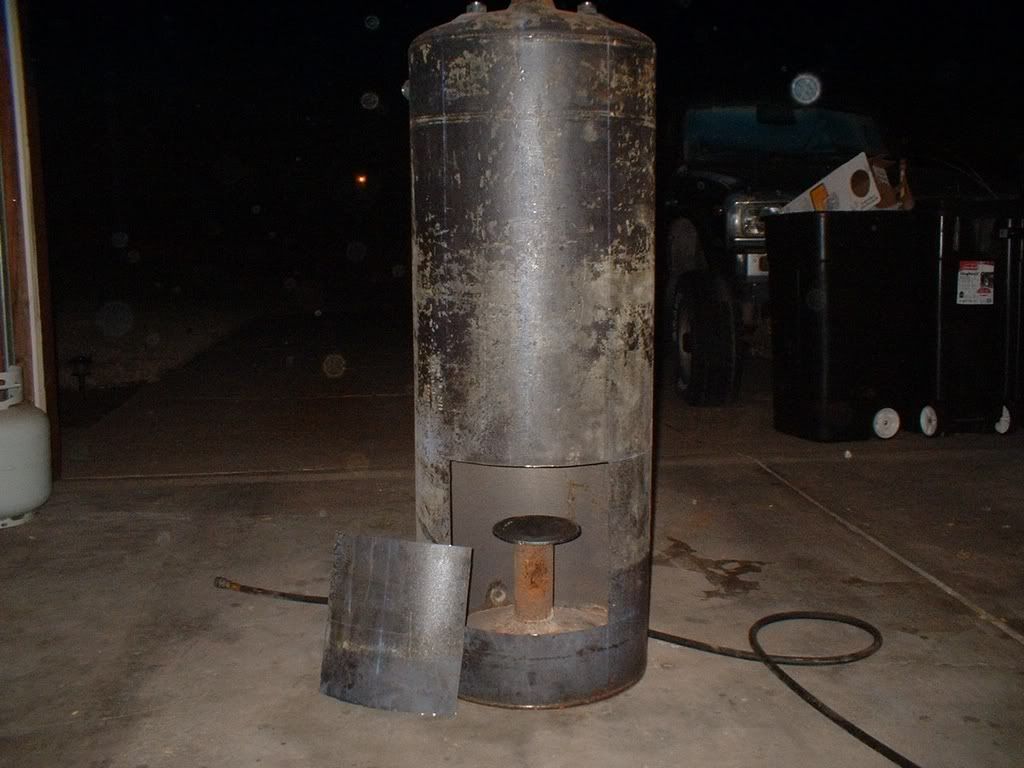
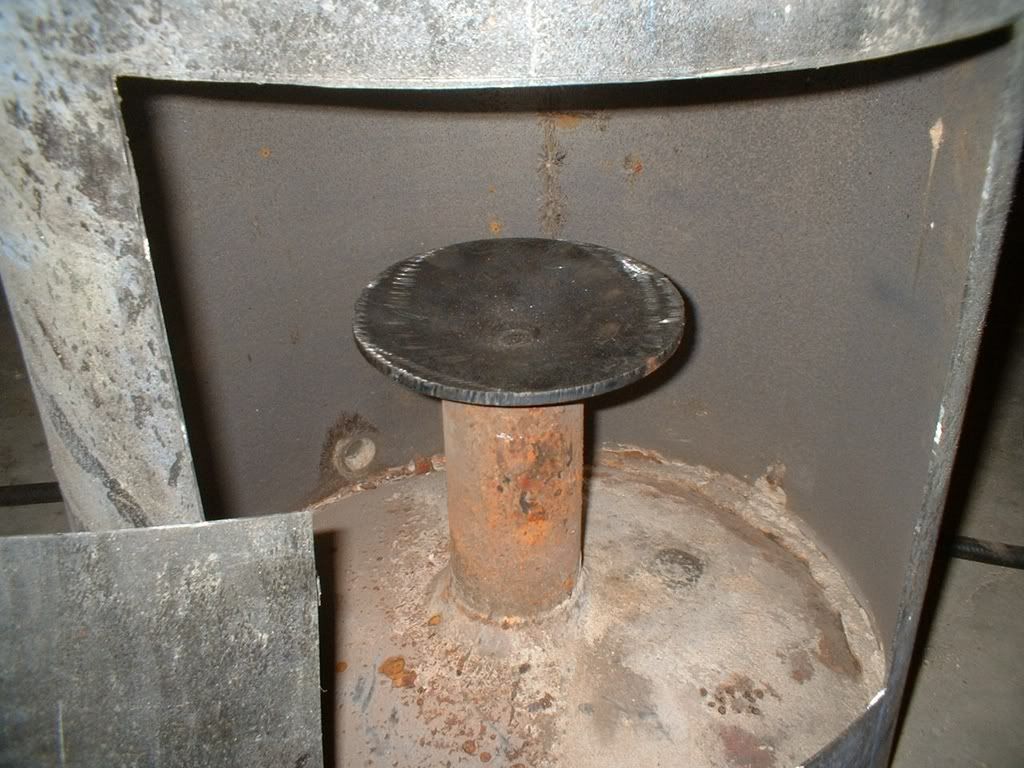
The burner.
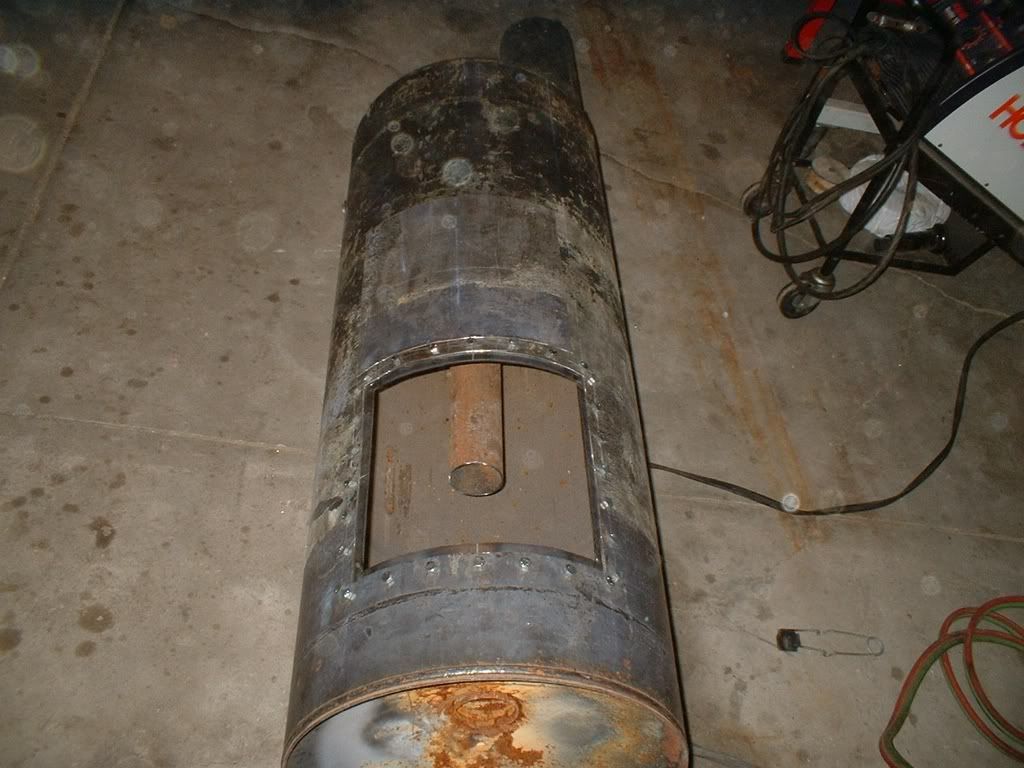
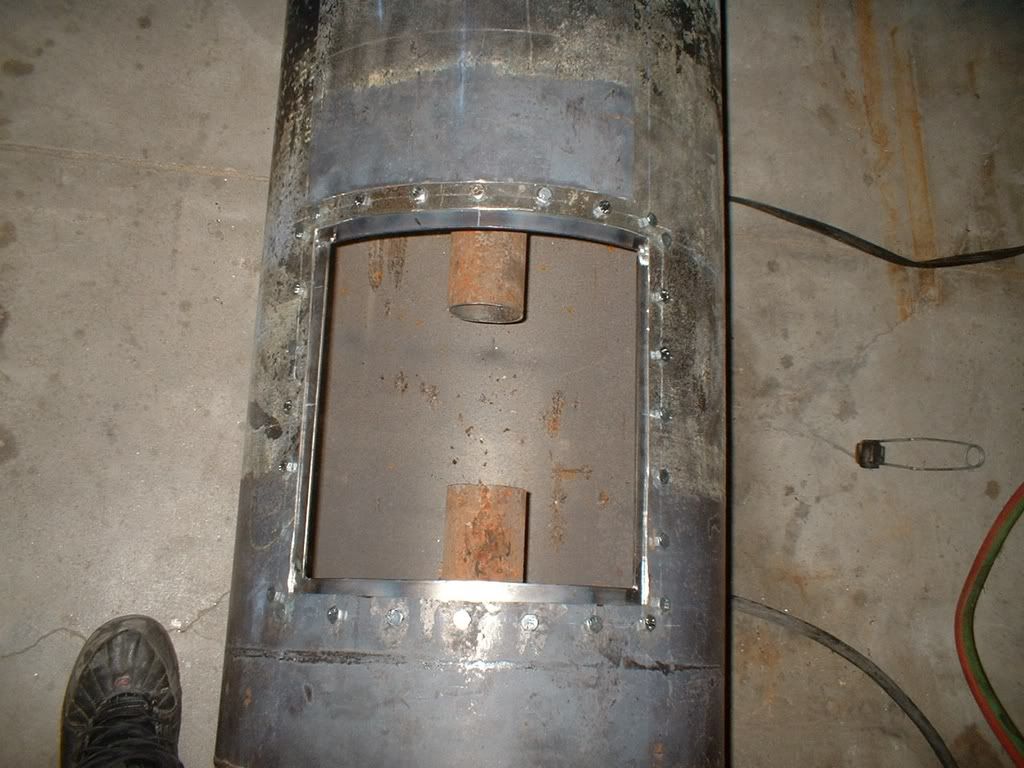
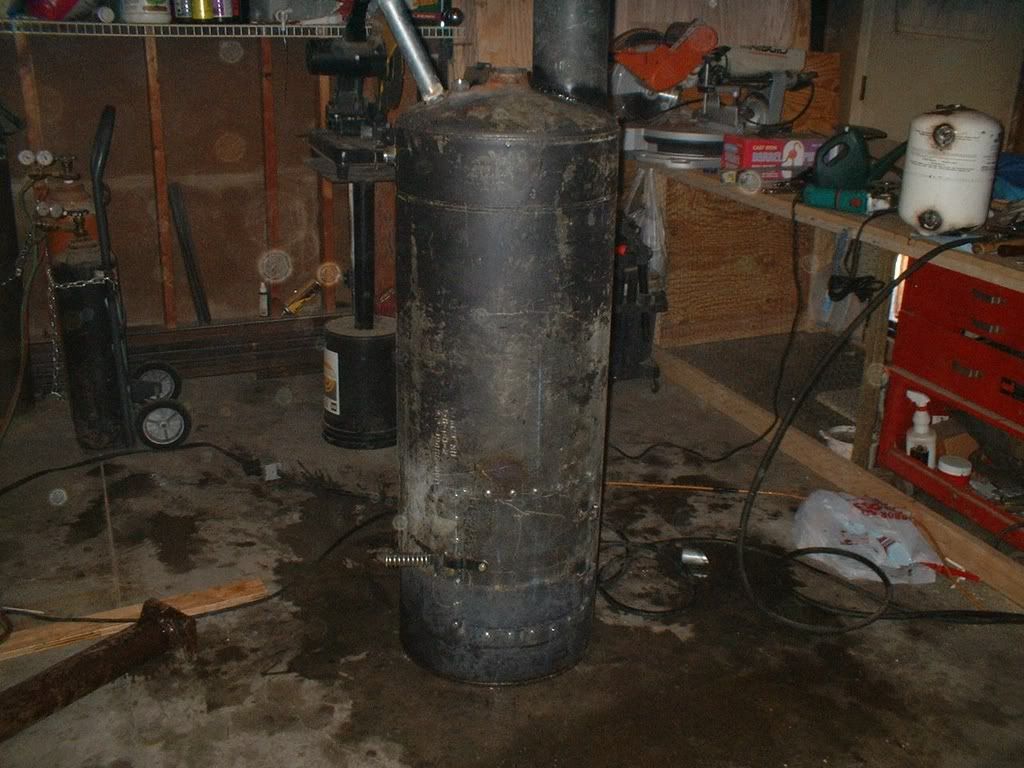
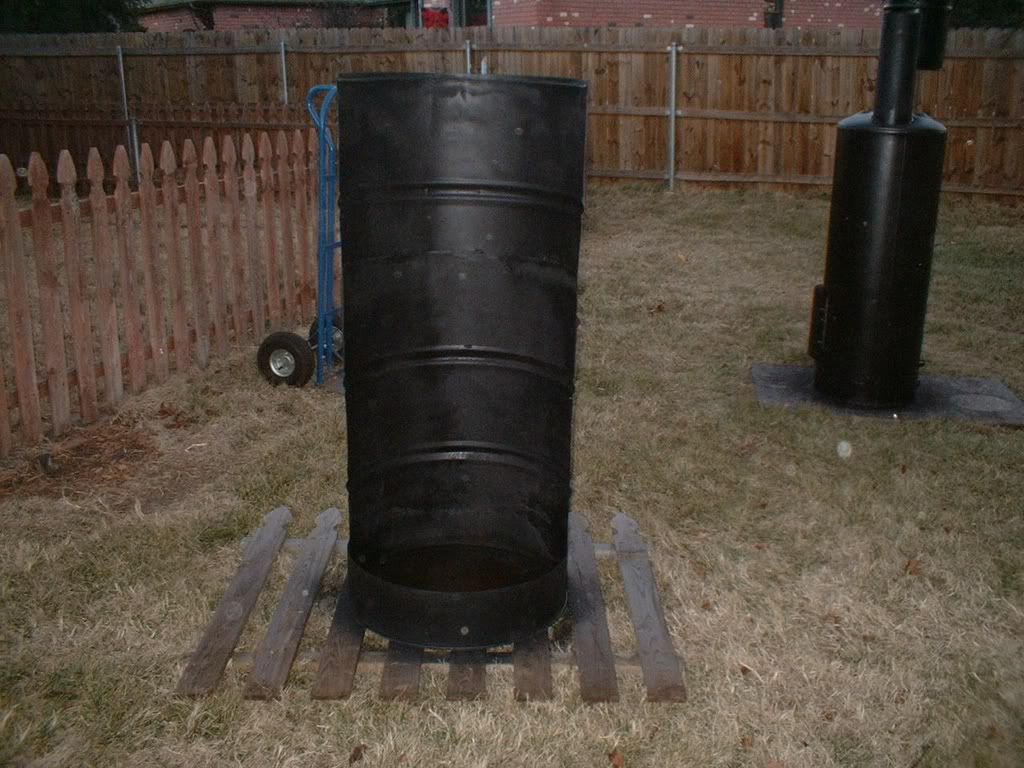
The 40 gallon water heater tank with a door cut out.
1/8/09
I have not finished much; I picked up some hinge material (push tubes from a Cat 3406 engine). I am going to use a 30 lbs R134A tank for the tank that will be mounted above the heater. I have removed the handles and valve from the tank and silver soldered a 1/4 npt female fitting to the top of the tank. This will be the needle valve will mount. I also need to install the sight gauge and drill a 1 inch hole in the top for filling. Sorry I do not have any pics of this, the tank is at work and I am working at it on breaks.
I spent a little time on the heater. I cut the old draft line and mounted the burner. I also installed 1/4 inch npt plugs in five of the holes that were made by the hot water manufacture.
I am ready to start cutting and welding. The hole for the new 6 inch draft line still needs to be cut, the tank needs to be mounted and the door hinges need to be made and installed. I also need to install the frame on the inside of the heater door opening. I may weld this into place. Unfortunately I must do some garage cleaning to get to my mig and torches. I have been working on a few wood projects and need to move a bench and a few sheets of oak plywood. I will be working on this after work tomorrow.
Here are a couple of pics.
1/12/08
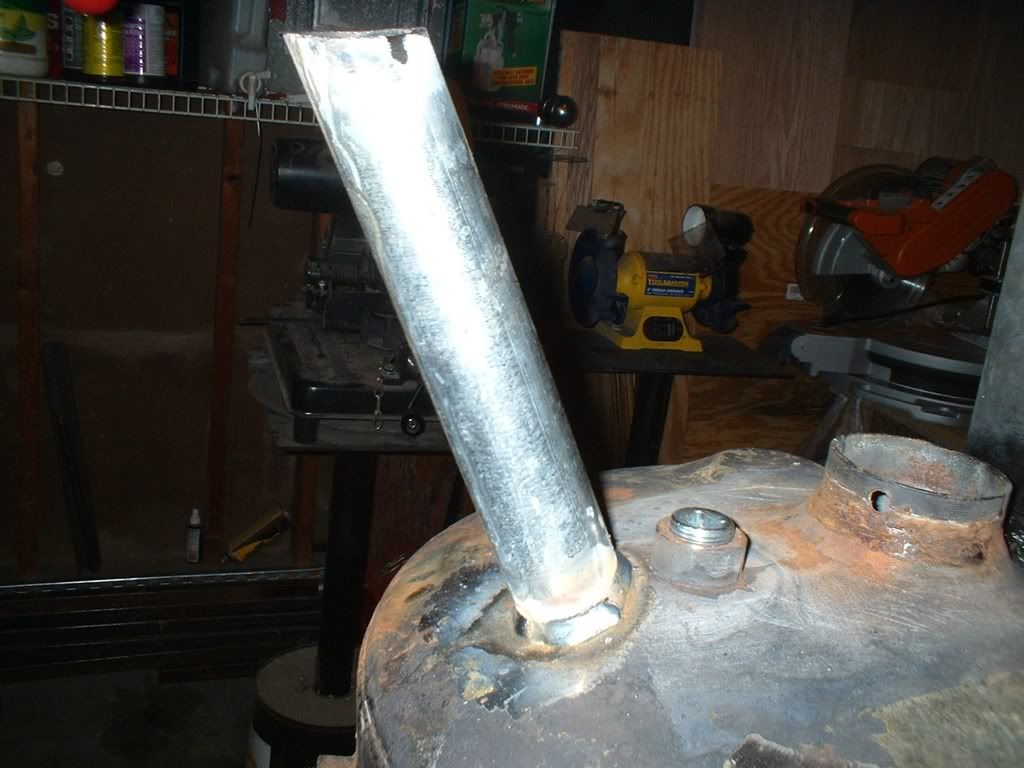
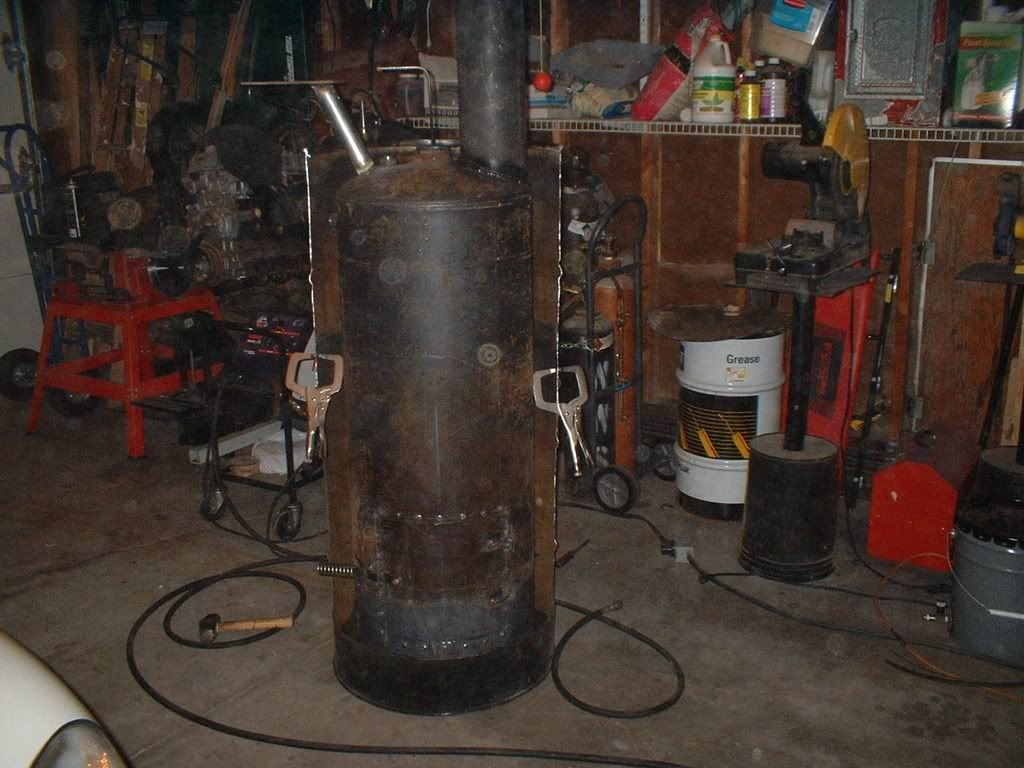
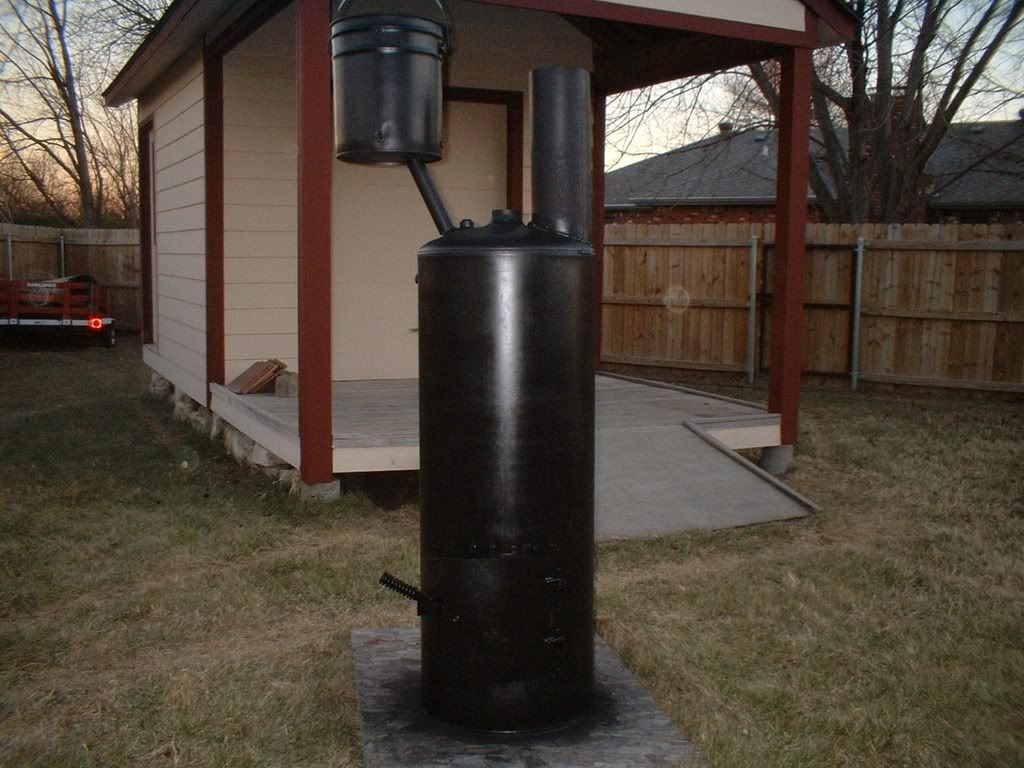
Just about 30 minutes of work today. I cut the hole in the top of the heater, cut the stack and welded it into place. Dad always told me to clean metal before I weld. Yea he is right the weld is not pretty but, it will not leak.
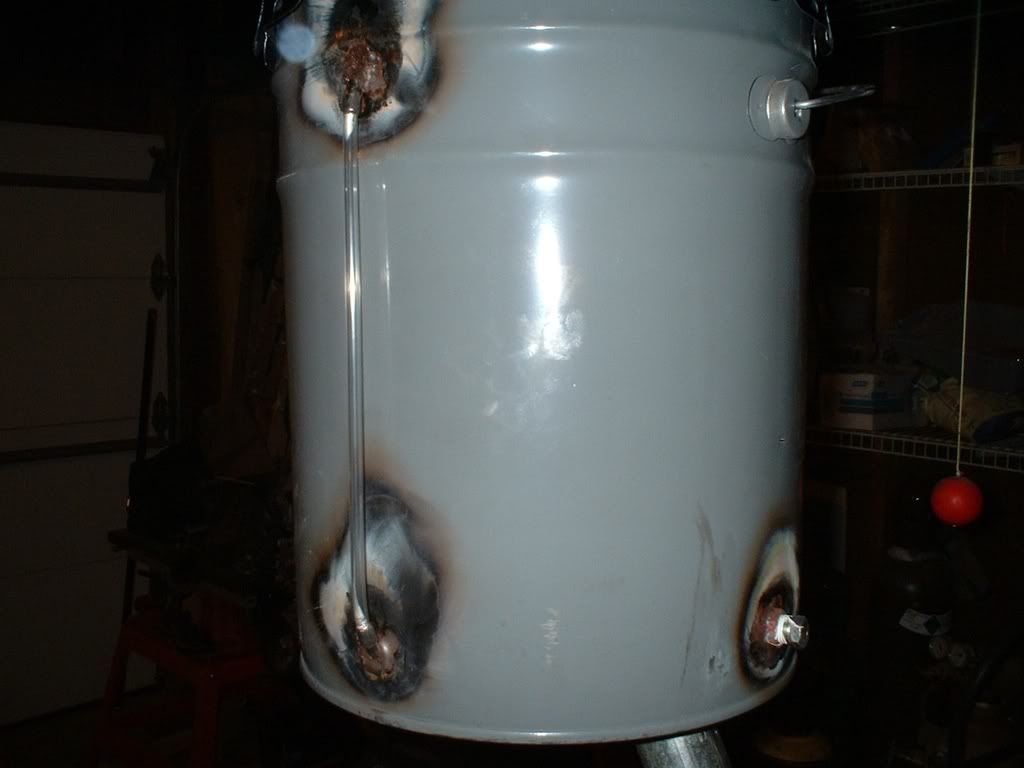
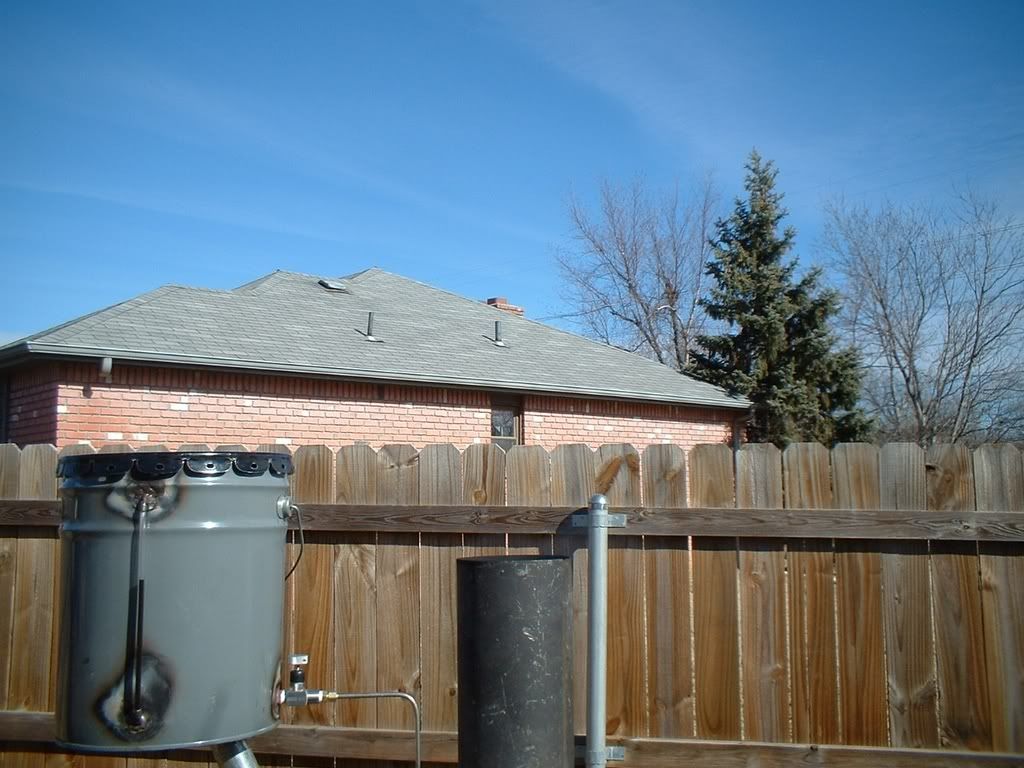
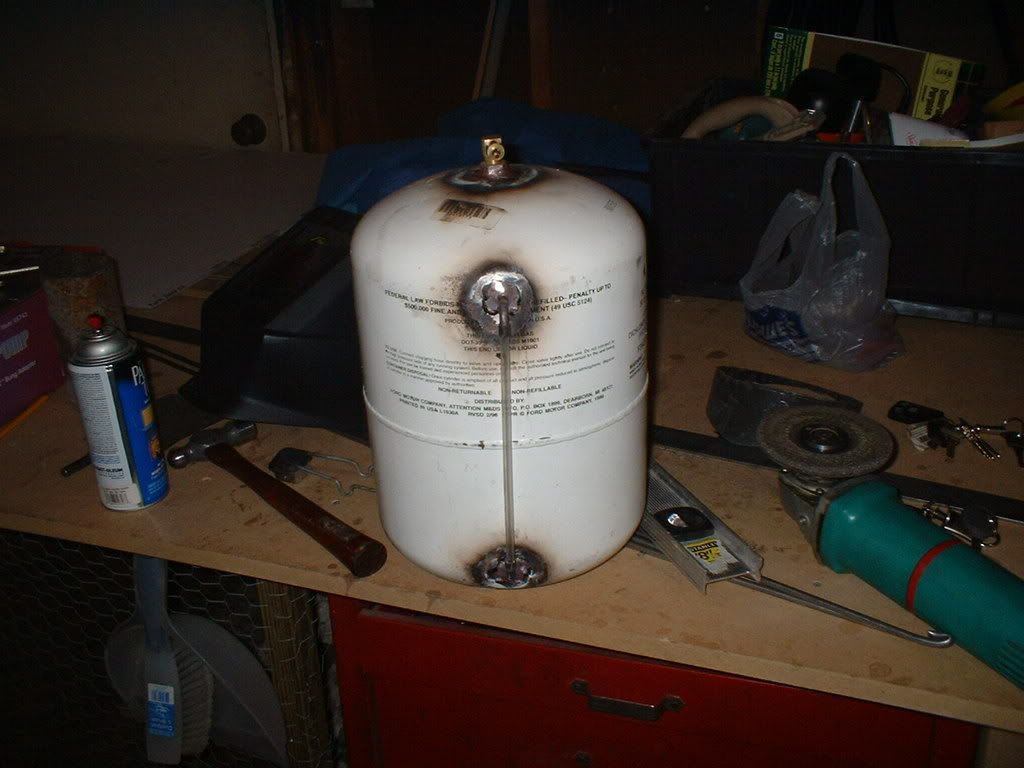
As for the tank I have a pic of it finally. This thing is upside down, the fitting on top is the drain into the heater.
Side note. My wife had that garage looking pretty nice. A half of an hour, now I am feeling at home.
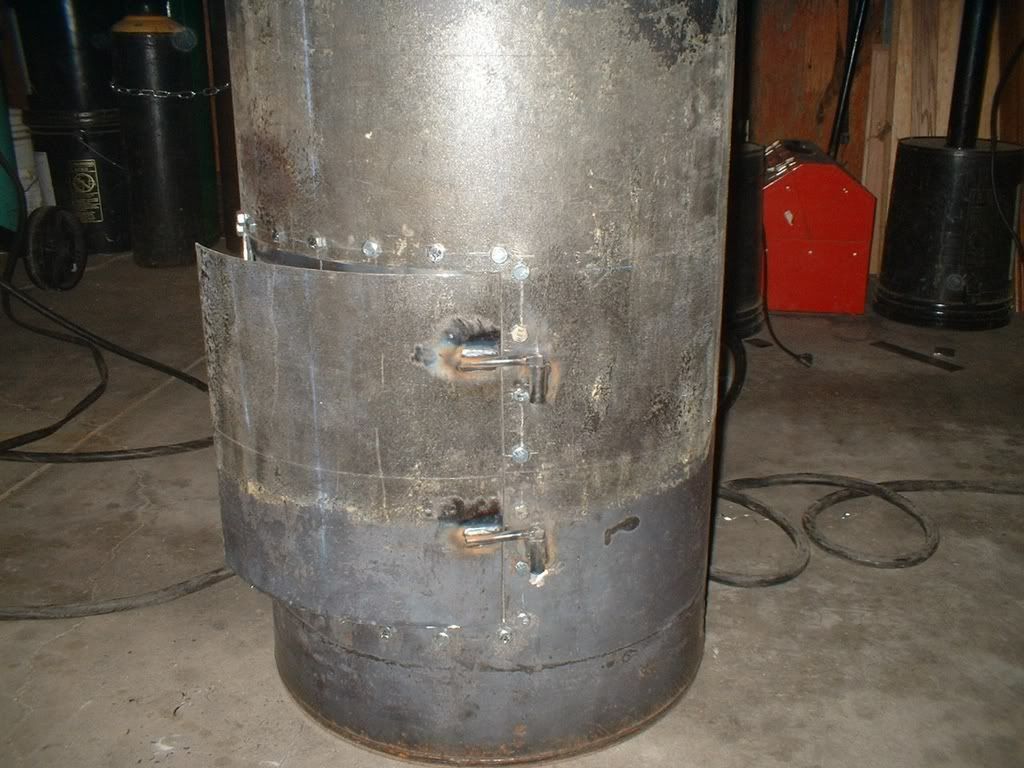
The heater.
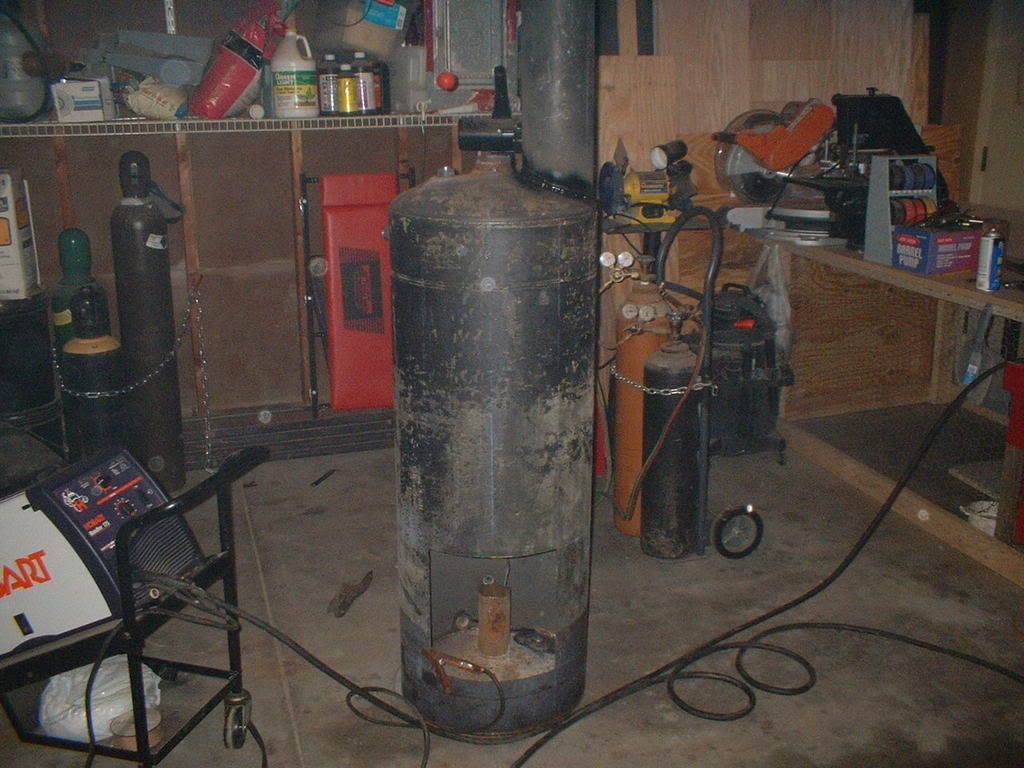
The oil tank.
1/13/09
No real progress today. I was held up at work.
I did start on the hinges. They are made from a tube that was used as a push tube for valve rockers in a 3406 Cat engine. The pin is a 3/8 inch bolt that I lathed the head to be round and its o.d. the same size as the o.d. of the tube.
I also built inner frame for the door opening. I cut the material and welded the ends to make a square. I bent the frame as best I could on the outside of the heater then clamped it into the inside of the heater. I used a torch to shape it the rest of the way. It is cooling now.
That is all. Tomorrow may be a better day to finish more.